









Karta · 入门
Path — User: from received card to saved contact
The articles for who receives and hands out cards, in the right order.
此文章暂无您的语言版本,以English显示。
Follow in order. Each step names the manual article that explains it in detail — search the title in the Wiki.
- Install the app and sign in to your company — Karta works in the browser and in the official Android and iPhone app. Web and app show the same cards for the same company, so you can scan on the phone and review on a computer. This article covers installation and first sign-in only; to create a new company, see Getting started.
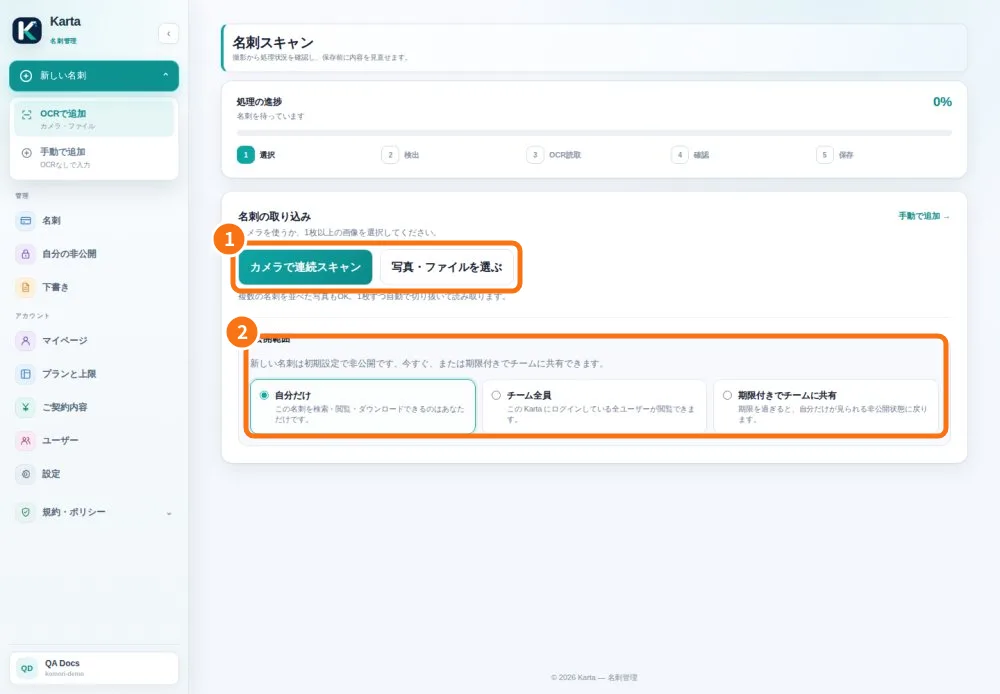
- Capture the front and back — The camera captures the image; text recognition fills fields for review before saving.
- Review a batch and recover pending cards — In the app, each scan becomes a draft. A batch holds up to 10 cards and reports each save result.
- Add or correct a contact — Use manual entry without a photo, or edit an existing saved card.
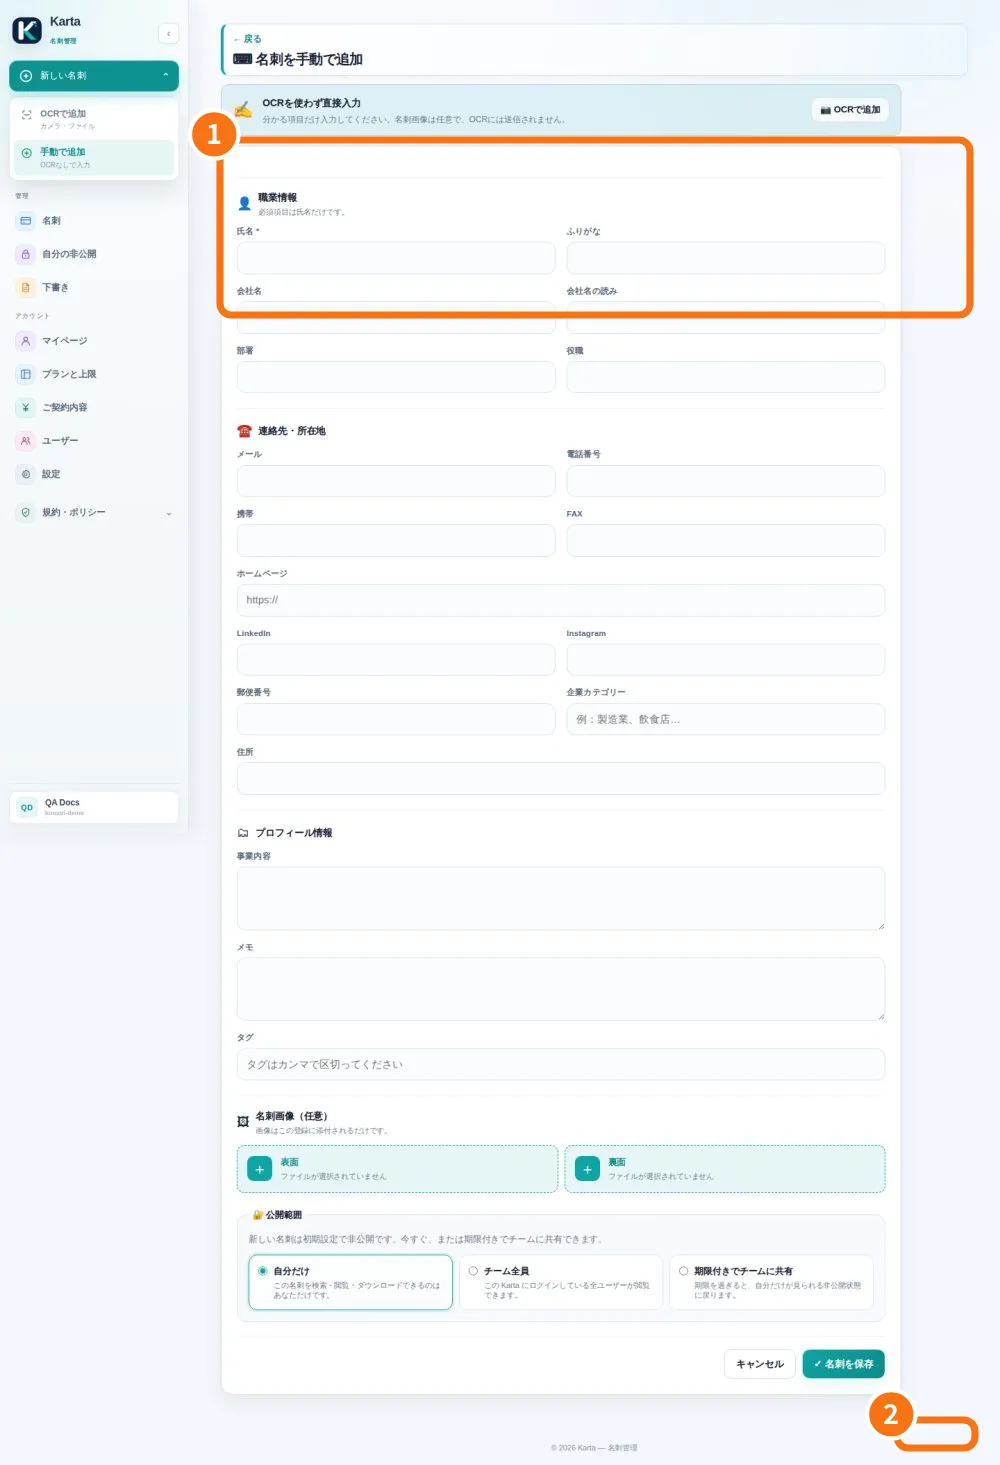
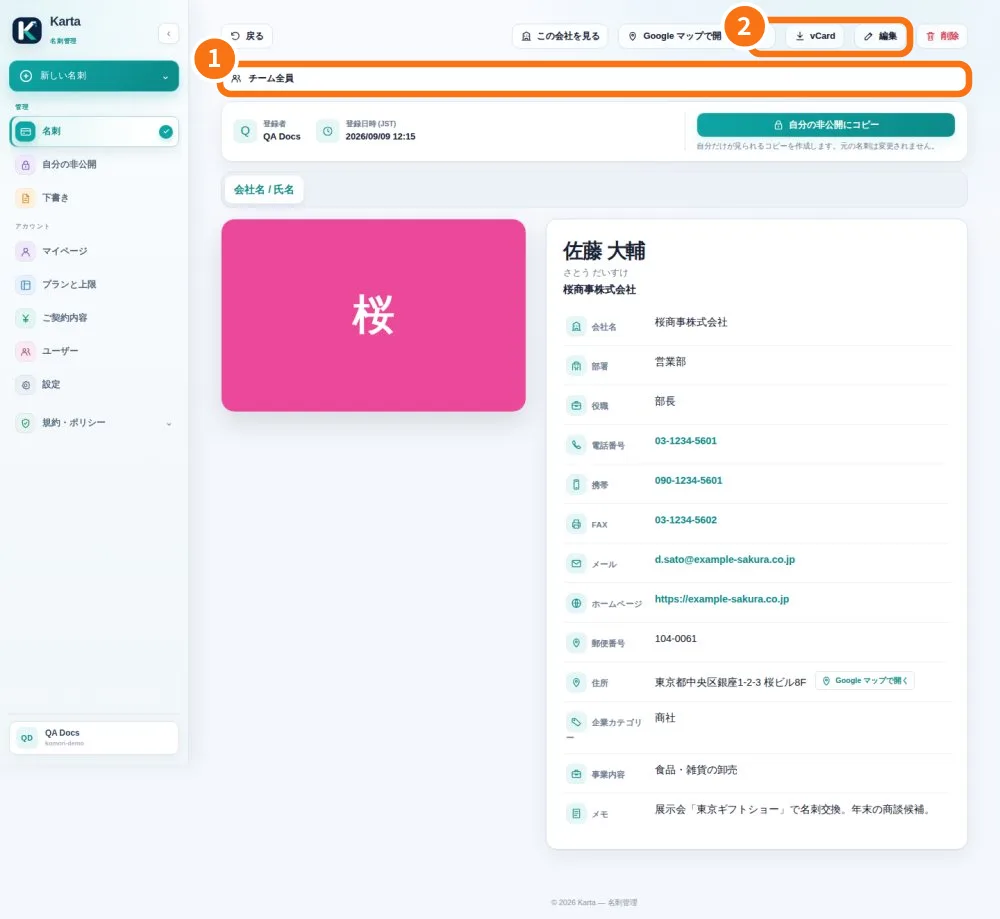
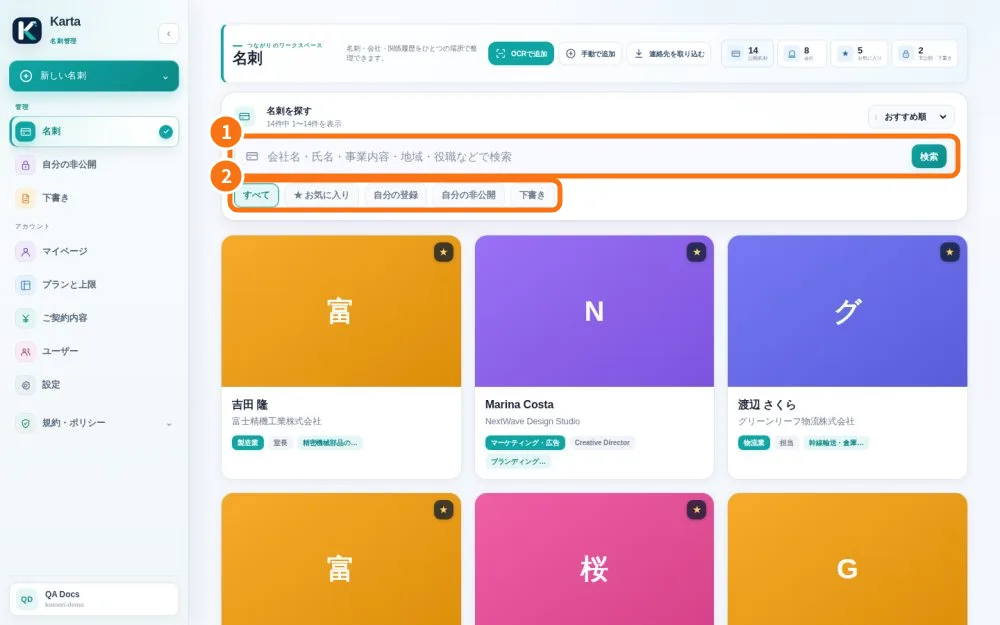
- Find, filter and export a card — The list helps find contacts without creating duplicates; the detail screen provides contact actions.
- Prepare and share your digital card — My card presents your own details and can be shared by link or QR code.
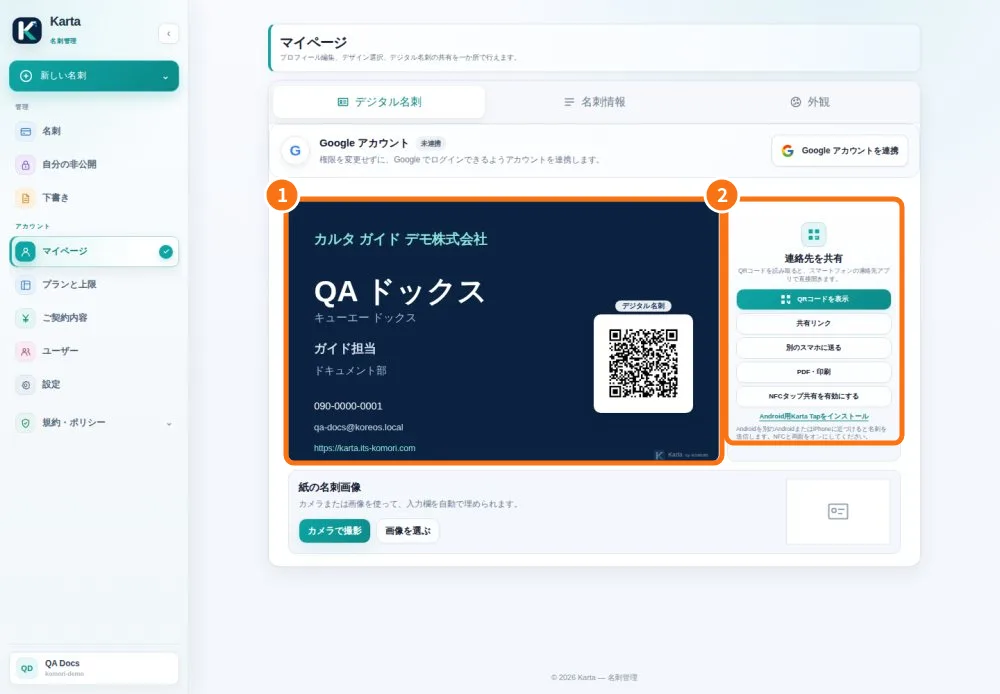
- Email your card individually or in a batch — Introduction emails use your own card. After scanning or importing, you choose the recipients.